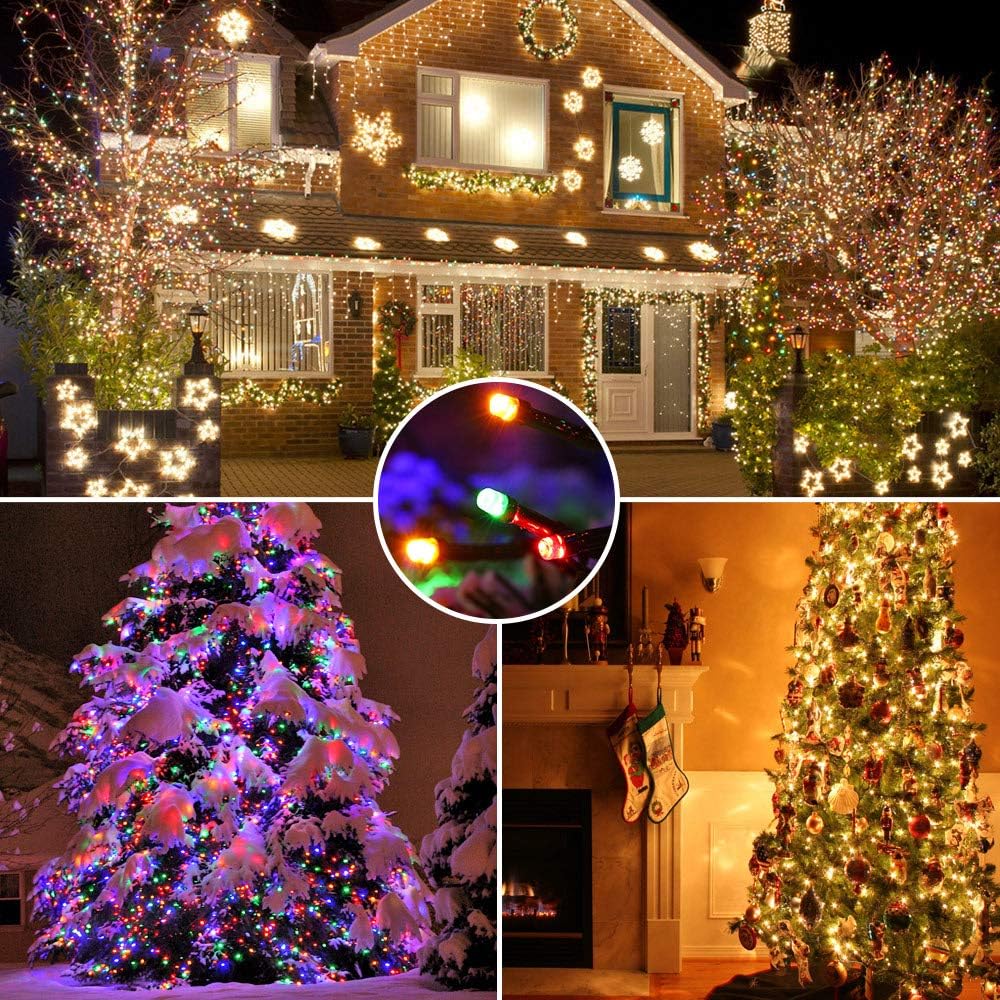
How to Fix Christmas Lights: A Comprehensive Guide
Problem: Christmas lights not working
Possible causes:
- Burnt-out bulb
- Blown fuse
- Loose connection
- Damaged cord
- Faulty shunt
- Weather damage
Step-by-step guide to fixing Christmas lights:

-
Check the bulbs.
The most common reason for Christmas lights not working is a burnt-out bulb.
To check the bulbs, simply plug in the lights and look for any bulbs that are not lit. If you see a burnt-out bulb, replace it with a new one of the same wattage and type.- Plug In: Connect the lights to a power source.
- Spot the Dark Bulbs: Look for bulbs that aren’t lit.
- unplug: Ensure the lights are unplugged.
- Remove Burnt Bulb: Gently unscrew the unlit bulb.
- Match & Replace: Choose a new bulb with the same wattage and type. Screw it in.
- Plug In Again: Reconnect the lights to power.
- Check Illumination: Confirm the replaced bulb is lit.
- Repeat as Needed: Keep checking and replacing any unlit bulbs.

-
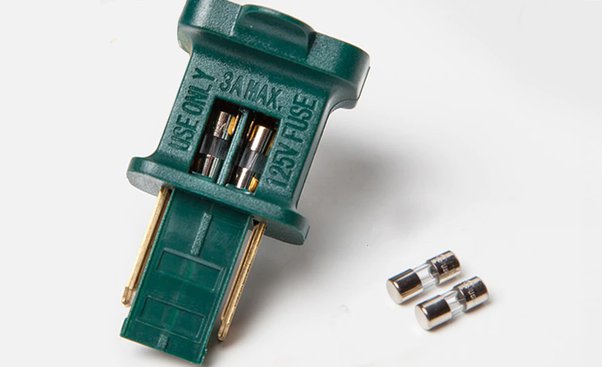
Check the fuses.
If all of the bulbs are lit but the lights still aren’t working, check the fuses. Most Christmas light strings have one or two fuses located in the plug. To check the fuses, simply remove the plug from the outlet and look for any fuses that are blown. A blown fuse will have a visible break in the wire. If you find a blown fuse, replace it with a new one of the same amperage.
-
Unplug Lights: Disconnect the lights from the outlet.
-
Locate Fuses: Most light strings have one or two fuses in the plug.
-
Inspect for Damage: Look for visible breaks in the fuse wires.
-
Identify Blown Fuse: If you find a blown fuse, it will have a visible break.
-
Replace with Same Amperage: Swap the blown fuse with a new one of the same amperage.
-
Plug In Again: Reconnect the lights to the outlet.
-
Check Functionality: Confirm that the lights are now working.
-
Enjoy: Experience the glow of your Christmas lights without any issues!
-
-
Check the connections.
If the bulbs are lit and the fuses are good, check the connections. Make sure that the plug is securely plugged into the outlet and that all of the bulbs are screwed in tightly. If you find any loose connections, tighten them.
- Ensure Lights are Off: Turn off the Christmas lights.
- Inspect Plug Connection: Confirm the plug is securely in the outlet.
- Check Bulb Tightness: Ensure all bulbs are tightly screwed into their sockets.
- Identify Loose Connections: Look for any visibly loose connections.
- Tighten Loose Connections: If found, securely tighten the loose connections.
- Turn Lights On: Switch the lights back on.
- Verify Functionality: Confirm that the lights are now working properly.
- Enjoy the Illumination: Bask in the festive glow of your securely connected Christmas lights!
-
Inspect the cord.
If the connections are tight but the lights still aren’t working, inspect the cord for any damage. Look for any cuts, nicks, or fraying. If you find any damage, the cord will need to be replaced.
- Turn Off Lights: Ensure the Christmas lights are switched off.
- Unplug Cord: Disconnect the lights from the power source.
- Examine the Cord: Inspect the entire cord for cuts, nicks, or fraying.
- Identify Damage: If any damage is found, note the affected areas.
- Replace Damaged Cord: For significant damage, replace the entire cord.
- Plug In New Cord: Connect the lights to the power source using the new cord.
- Turn Lights On: Switch the lights back on.
- Confirm Functionality: Ensure the lights are now working without issues.
- Enjoy the Festive Glow: Revel in the renewed brilliance of your Christmas lights with a replaced cord.
-
Check the shunt.
If the cord is in good condition, check the shunt. The shunt is a small device that allows the lights to continue working even if one bulb burns out. To check the shunt, you will need a light repair tool. Plug in the lights and touch the light repair tool to the metal contacts on the end of the light string. If the light repair tool lights up, the shunt is good. If the light repair tool does not light up, the shunt is bad and will need to be replaced.

-
- Ensure Lights are Off: Turn off the Christmas lights.
- Verify Cord Condition: Confirm the cord is in good condition.
- Locate the Shunt: Identify the small device (shunt) on the light string.
- Prepare Light Repair Tool: Obtain a light repair tool for testing.
- Plug in Lights: Connect the lights to the power source.
- Use Light Repair Tool: Touch the tool to the metal contacts on the light string end.
- Observe Tool Reaction: If the tool lights up, the shunt is functional.
- Replace Shunt if Needed: If the tool doesn’t light up, replace the shunt.
- Turn Lights On: Switch the lights back on.
- Confirm Functionality: Ensure the lights are now working with the repaired or replaced shunt.
- Enjoy the Illumination: Experience the uninterrupted glow of your Christmas lights with a functioning shunt.
-
-
Check for weather damage.
If you are using outdoor Christmas lights, check for weather damage. Look for any rust, corrosion, or water damage. If you find any weather damage, the lights will need to be replaced.
- Power Off Lights: Ensure the outdoor Christmas lights are turned off.
- Inspect for Weather Damage: Check for rust, corrosion, or water damage on the lights.
- Identify Damaged Areas: Note any areas showing signs of weather-related damage.
- Replace Weather-Damaged Lights: For significant damage, replace the affected lights.
- Disconnect Power: Unplug the lights from the power source.
- Install New Lights: Connect and install the replacement lights.
- Turn Lights On: Switch the lights back on.
- Confirm Functionality: Ensure the new lights are working properly.
- Enjoy the Outdoor Ambiance: Bask in the festive glow of your renewed outdoor Christmas lights, free from weather-related issues.


How to fix Christmas lights half out:
If half of your Christmas lights are out, the problem is most likely a burnt-out bulb or a loose connection. To fix the problem, follow the steps above to check the bulbs and connections. If you cannot find the problem, you may need to use a light repair tool to test the shunt.

How to fix outdoor Christmas lights:
Outdoor Christmas lights are more susceptible to damage than indoor lights. To fix outdoor Christmas lights, follow the steps above to check the bulbs, fuses, connections, cord, and shunt. You should also check for weather damage.
How to fix Christmas lights without a tester:
If you do not have a light repair tool, you can still fix your Christmas lights by following these steps:
- Check the bulbs. Replace any burnt-out bulbs.
- Check the fuses. If the fuses are good, skip to step 3. If the fuses are blown, replace them.
- Check the connections. Make sure that the plug is securely plugged into the outlet and that all of the bulbs are screwed in tightly.
If you have followed all of the steps above and the lights are still not working, the problem is most likely a damaged cord or a faulty shunt. In this case, you will need to replace the light string.
How to fix string lights that won’t turn on:
If your string lights won’t turn on, there are a few things you can check:
- Make sure that the plug is securely plugged into the outlet.
- Check the fuse in the plug. If the fuse is blown, replace it.
- Check the bulbs. If any of the bulbs are burnt out, replace them.
- If you have checked all of the above and the lights still won’t turn on, there may be a problem with the wiring. In this case, you will need to replace the light string.
How to fix Christmas lights broken wire:
If you have a broken wire in your Christmas lights, you will need to replace the light string. There is no way to repair a broken wire in Christmas lights.
Christmas lights not working fuses good:
If your Christmas lights are not working and the fuses are good, the problem is most likely a burnt-out bulb, a loose connection, or a damaged cord. To fix the problem, follow the steps below:
- Check the bulbs. Replace any burnt-out bulbs.
- Check the connections. Make sure that the plug is securely plugged into the outlet and that all of the bulbs are screwed in tightly.
- Inspect the cord. Look for any cuts, nicks, or fraying. If you find any damage, the cord will need to be replaced.
If you have checked all of the above and the lights are still not working, the problem may be a faulty shunt. In this case, you will need to replace the light string.
Christmas light tester / Christmas light repair tool:
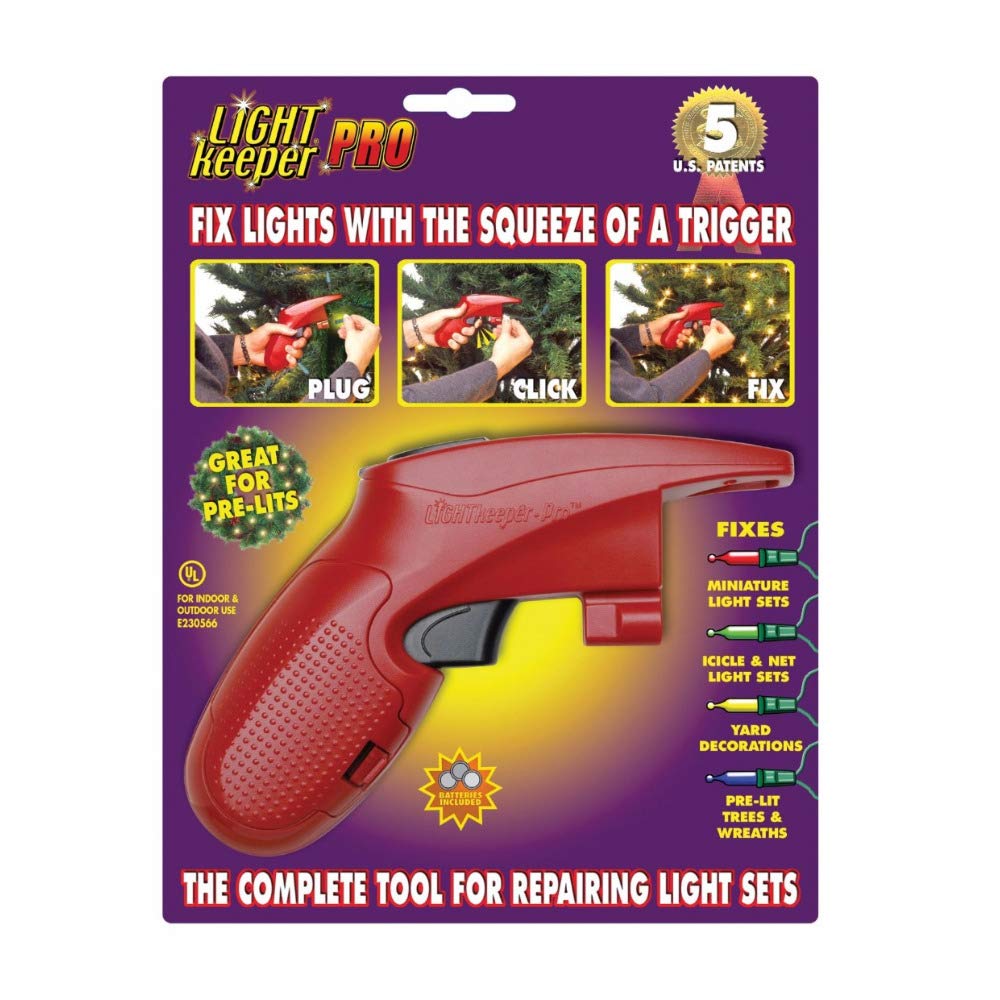
A Christmas light tester is a device that can be used to test Christmas lights for problems. It has two prongs that are inserted into the metal contacts on the end of the light string. If the tester lights up, the shunt is good. If the tester does not light up, the shunt is bad and will need to be replaced.
A Christmas light repair tool is similar to a Christmas light tester, but it also has a built-in shunt. This allows you to replace a faulty shunt without having to replace the entire light string.
To use a Christmas light repair tool, simply insert the prongs into the metal contacts on the end of the light string. If the tester lights up, the shunt is good. If the tester does not light up, remove the prongs and insert the new shunt. Then, insert the prongs back into the metal contacts and test the lights again. If the lights now turn on, the shunt has been replaced successfully.
I hope this information is helpful. Please let me know if you have any other questions.
Leave a ReplyCancel reply